Setup
Setting up your Python environment
Let’s set up the tools you’ll use to write and execute your code. There are two main environments for working with Python: Shell and Notebook. Let’s explore both.
Shell
The Shell lets you run Python commands interactively in your terminal, line by line.
Start the Python shell by running python3 in your terminal (python on Windows).
(base) ➜  ~ python3
Python 3.11.4 (main, Jul  5 2023, 08:54:11) [Clang 14.0.6 ] on darwin
Type "help", "copyright", "credits" or "license" for more information.
>>> print("Hello, World!")  # print hello world
Hello, World!
>>> 4 + 9  # add numbers
13
IPython
IPython is an enhanced shell with features like syntax highlighting, auto-completion, and better debugging.
To start IPython, run ipython in your terminal.
(base) ➜  ~ ipython
Python 3.11.4 (main, Jul  5 2023, 08:54:11) [Clang 14.0.6 ]
Type 'copyright', 'credits' or 'license' for more information
IPython 8.12.0 -- An enhanced Interactive Python. Type '?' for help.

In [1]: print("Hello, IPython!")
Hello, IPython!

In [2]: 3 + 39
Out[2]: 42
Shells are great for quick tests but not ideal for complex projects. That’s where Notebooks come in.
Notebooks
A notebook is a web-based interactive environment built on top of IPython. While working in the shell can be limiting, notebooks simplify the process by bringing code, visualizations, and explanations together in one place.
Jupyter Notebook
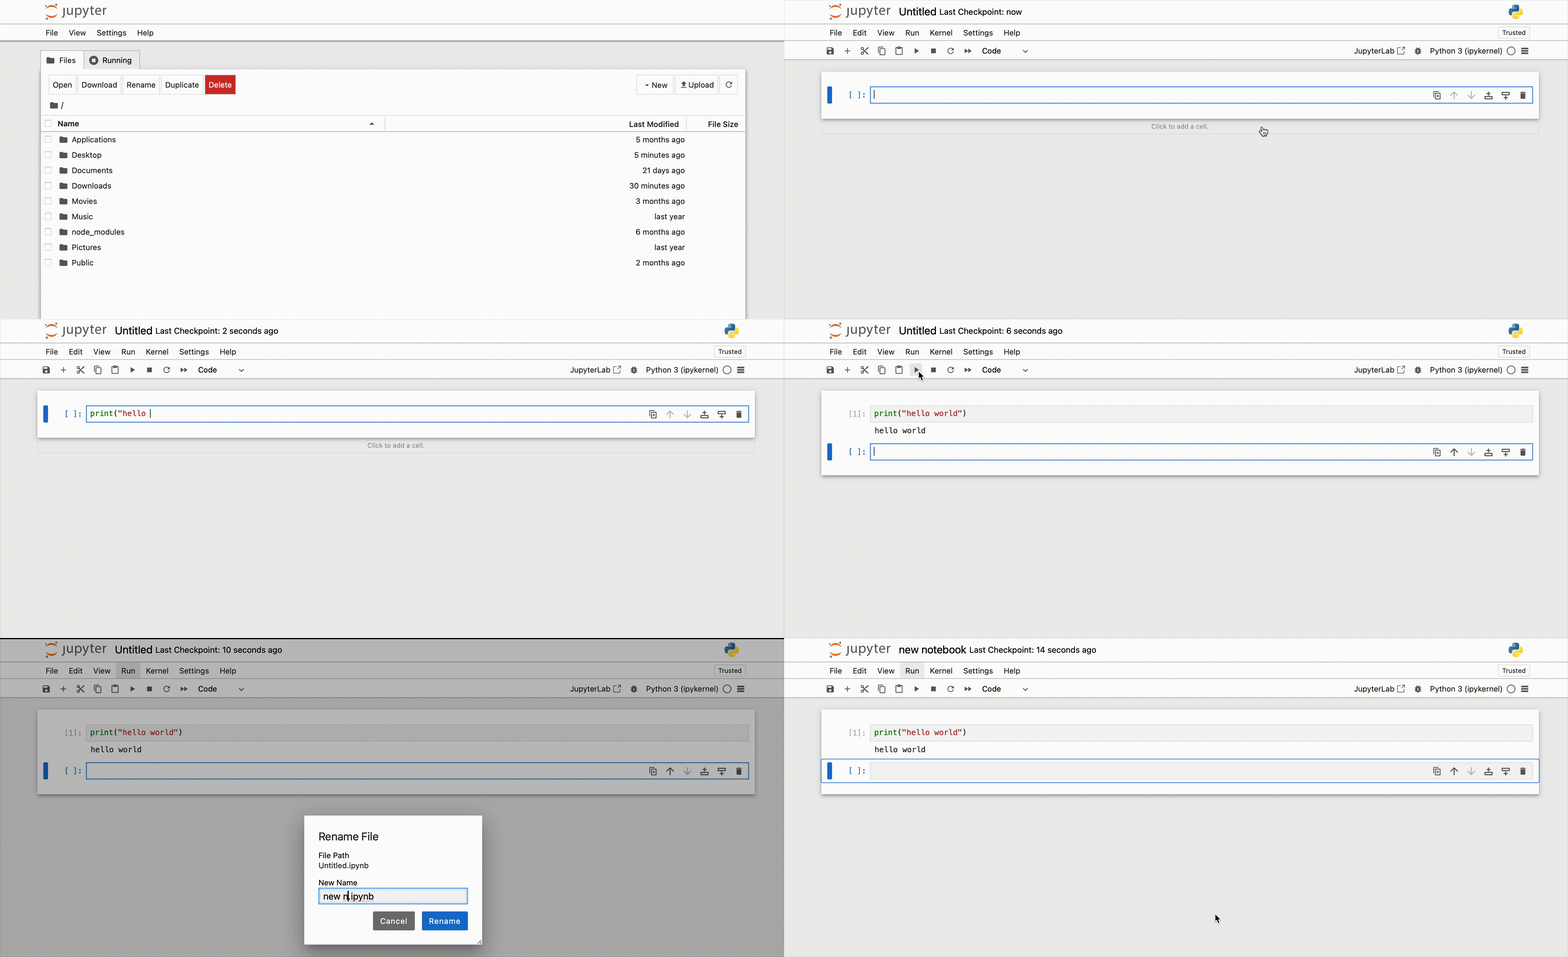
Jupyter Notebook is a local web-based notebook, ideal for development, collaboration, and sharing.
Install it with the command pip install notebook, then launch it using jupyter notebook.
This will start a local web server, show the server log in your terminal, and automatically open the notebook in your browser at localhost:8888.

There is also an enhanced version of Jupyter Notebook called JupyterLab, which provides a more flexible and powerful environment.
Install it with the command pip install jupyterlab, then launch it using jupyter lab.

Learn more about JupyterLab in this tutorial by the Jupyter team.
Google Colab
Google Colab is a cloud-based notebook that runs in your browser. It comes with machine learning libraries pre-installed and offers free compute resources, such as GPUs and TPUs, for smaller workloads.
Due to its ease of use, flexibility, and access to more compute, most people now prefer Colab over Jupyter.

Learn more about Colab in this tutorial by the Colab team.
Kaggle Notebook
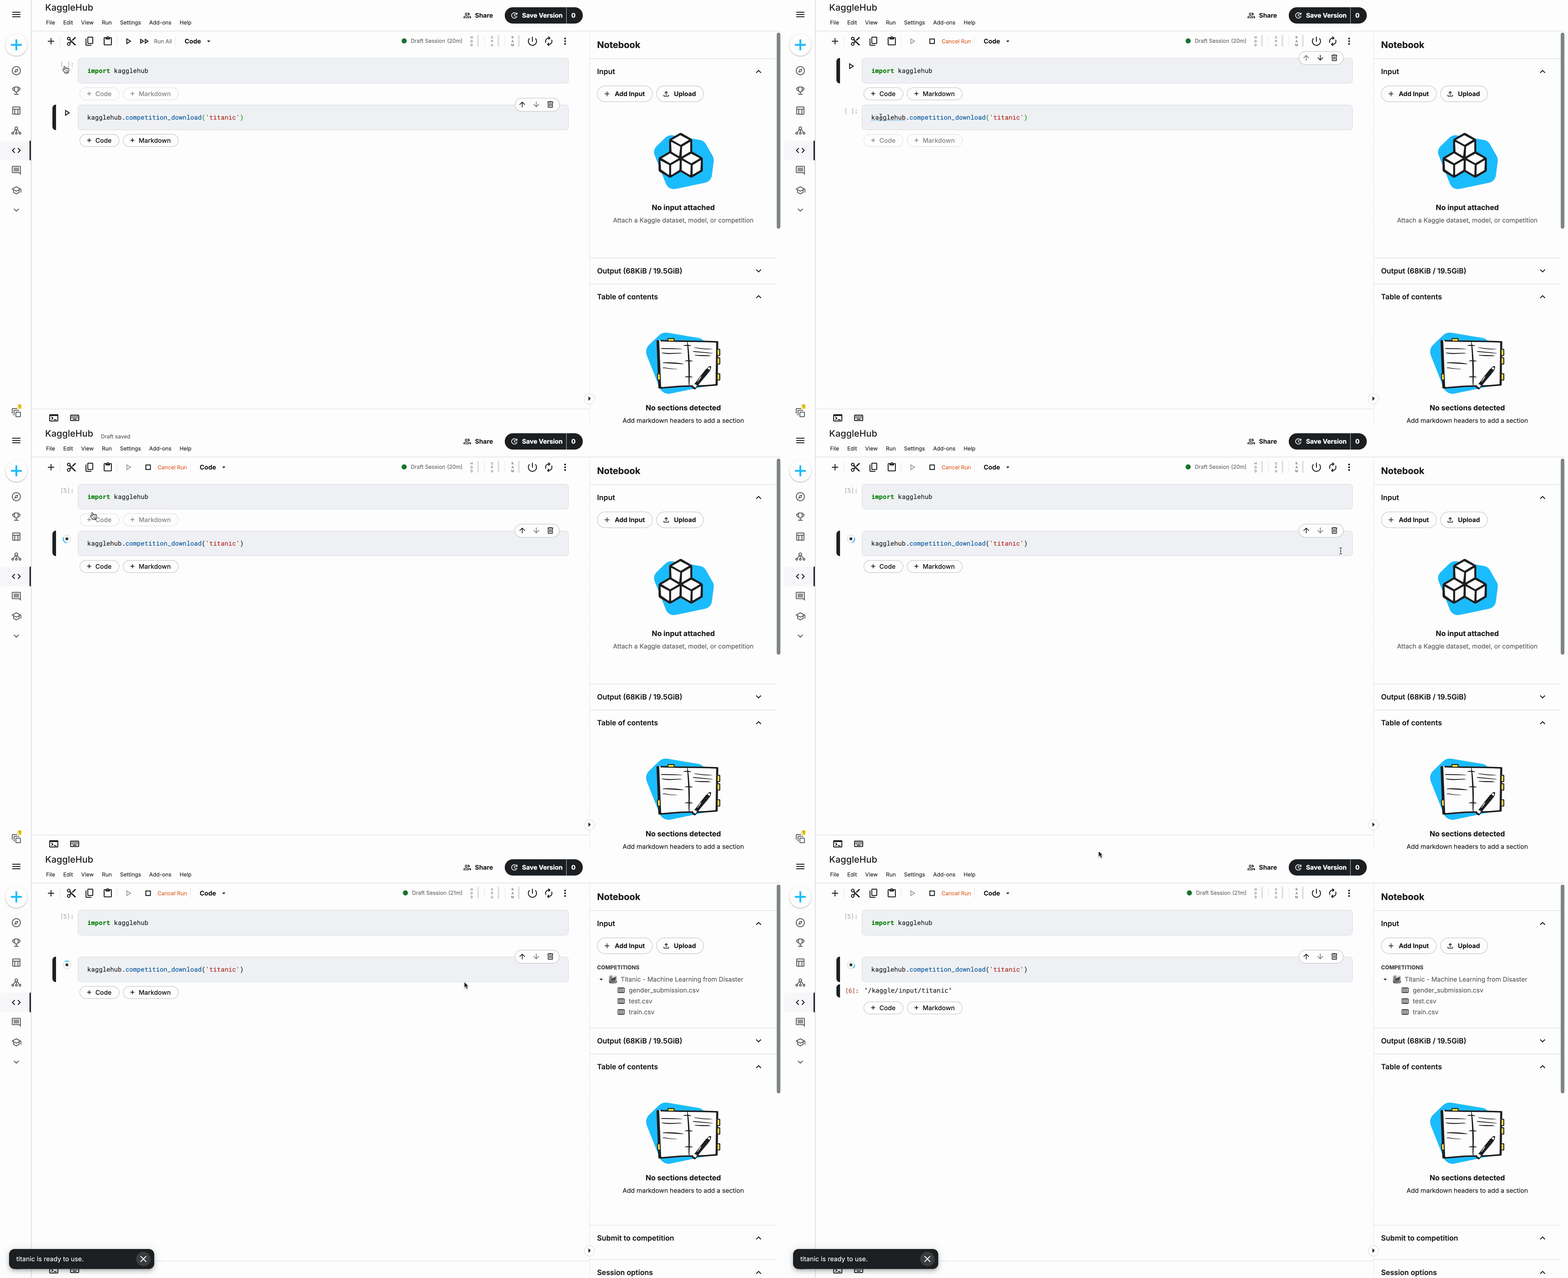
Kaggle Notebook is like Colab but fully connected to Kaggle’s datasets and competitions, making it easy to access data and join competitions right from the notebook.

Learn more about Kaggle Notebooks in this tutorial by the Kaggle team.
Which one to use?
If you’re unsure which environment to choose, Colab is a great option. It’s user-friendly, provides free access to more compute power, and comes with pre-installed machine learning libraries.
For this course, we’ll be using Colab as our primary environment.
You’re all set and ready to get started!
Was this page helpful?
Last updated on

